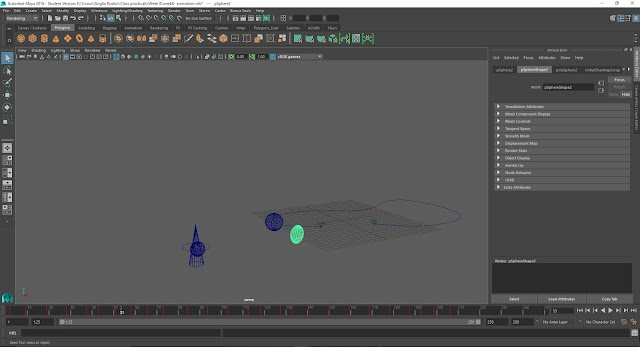
In this lesson we went through three very useful topics, the first one that I would like to talk about is the use of keyframes to create an animation, if you look at the image above you will see a highlighted and slightly deformed sphere, this is because it is in the middle of a bouncing ball animation, which uses the principles of squash and stretch in order to add the illusion of speed and make the bounces look more organic and realistic, This process involves moving and deforming the sphere by a small amount and keyframing every once in a while, Maya will then automatically get the difference between your two keyframes and move the sphere along, so if you had a sphere on frame 1 and made a keyframe and made another on frame 10, but the sphere had been scaled or moved in the 10th frame, Maya will create an animation between the two.
Another thing you will see in the image above is a sphere on a wiggly line, this sphere is on a motion path, this means that it will start at the point currently closest to the ball and animate itself along the path until it reaches the end of the motion path.
Also in the image above you will see a cone with a sphere and a circle next to it, these objects, the sphere and cone are being parented by the Nurbs circle, this is extremely useful when animating along a motion path, as if you move the circle along the motion path, you can still animate and tilt the children of the parent Nurbs.

No comments:
Post a Comment