Friday, 16 December 2016
Evaluation
I think that my animation came out very well when I take into account the fact that I had less time than most others to complete it. When I look at my animation I think that it has come out very well, it has some very nice camera shots, and has some good animations on the ships. I think that my scenes were also nicely complemented by the addition of the planets in the background, these made it feel more like a place in space rather than a blank area for these ships to fly around in. I also feel like the animation flows very well, each scene makes it quite clear where the ships are and where they have traveled to and from, I think my animation has a clear narrative as well, I think someone could tell me what story I am trying to tell just by watching the animation. Now some negatives of my animation were that there was one frame I missed out that is in the wrong order, this was due to moviemaker sometimes placing frames in the wrong order, I had this issue several times, but I corrected all but one. Another thing that I would change if I had more time was the quality of the renders, because I didn't have long I went for the minimum quality I could, but a full quality render would have been good. The final thing that the time constraints against me prevented me from adding particle effects to my animation, I feel like this would have improved my animation quite a bit, and would have allowed me to showcase new skills that I used, outside of what was shown to us. Overall I think that I made a good animation with the time I had, but one that could have been better.
Storyboard comparison

1. The first panel of my storyboard was originally supposed to be a close up top down view of the two ships, but I decided to go for a more cinematic opening and have the camera pan from a planet to the two ships, I do however still have a similar type of shot in my animation, but the camera is slightly further out and at more of a third person angle.
2. The second panel of my storyboard is still present in my animation, it happens after two scenes, one of the X and Y wing flying, and one of the Tie Interceptor approaching with a front shot of the ship.
3. The events of the third panel are still in my animation, but it happens slightly differently, with the camera front on to the X and Y wing, with the Tie Interceptor then flying overhead and the X wing giving chase.
4. The dog fight portrayed in my storyboard is present in my animation, but it is more fleshed out and ends differently than I initially wanted.
5. The fifth panel of my animation happens quite differently in my animation, with the Tie Interceptor only beginning to move toward the Y wing before the events of the sixth panel takes place.
6. The X wing still dose crash in to the Tie Interceptor in my animation, it doesn't happen as close to the Y wing as I had initially planned, this is due to time constraints both in and out of the animation, partly because I couldn't get back to the Y wing in believable time before the 30 second time limit was up, I was also running out of time to finish the animation, so I could not go back and edit it to gain some time.
7. The final panel of my storyboard does not appear in my animation at all, this is due to time constraints causing me to both not be able to implement the particle effects that I wanted to to make this scene and the fact that I didn't have any time left in the animation to move my ships back to the Y wings position, so I opted for a fade to black in the end instead.
Thursday, 15 December 2016
Animation part 7


This is the final scene of my animation before the planned fade to black, in this scene the X wing chases the Tie Interceptor and swoops up and flies down in to it in a kamikaze attack. This scene, like the last was was all keyed by me, including the camera panning.
Animation part 6


In this scene the Tie Interceptor and the X wing are in a dog fight, with each ship trying to get a good position over the other one, until the Tie Interceptor decides to stop the fight and go back after the Y wing. This animation was all made by hand, so all of the ship and camera moves were keyed by me.
Wednesday, 14 December 2016
Animation part 5.2


This is the continuation of the scene, after the wings open up the X wings shoots forward towards the camera and spins right in front of it , then it shoots off after the Tie Interceptor. This scene was inspired by a scene from Star Wars: The force awakens, in which the millennium falcon performs a similar maneuver.

I like this shot a lot because of the realistic slow and drag of the back end of the ship as it performs a sharp turn.
Animation part 5.1


In this scene the camera cuts two the front of the X and Y wing as the Tie Interceptor files overhead. After this the X wings wings open up, this was an animation I made, which I was able to do due to the ship and the wings being separate objects parented under a Nurbs circle. In this animation I had to change the pivot point of each wing to the center of the wing on either side of the ship, I then rotated them by equal amounts so that they would be in the right X shape.
Tuesday, 13 December 2016
Animation part 4


In this scene I have attached a camera to the side of the Tie Interceptor by making it a child of the ship, I then made a cylinder and attached the same glowing material that I used on the thrusters, then I duplicated it to each point of the guns on the Tie Interceptor and keyed them moving forwards along a few frames, the blasts stayed in the shot no matter how far they traveled, so I layered them out once they moved far forward enough.
Animation part 3


The third shot starts on the front of the Tie Interceptor as it flies towards the X and Y wing, following along a motion path. The camera then pans to follow the Tie Interceptor as it passes under the camera, the camera was moved with an aim attached to the Tie Interceptor.
Animation part 2


The second scene of my animation comes after the tracking shot of the X and Y wing, it cuts to the shot of the X and Y wing and the camera follows them as they pass by the camera, the planets in the background were placed strategically, in order to fill the scene and create points of reference for where the ships are in space. The camera tracks the ships with an aimer.
Monday, 12 December 2016
Animation part 1

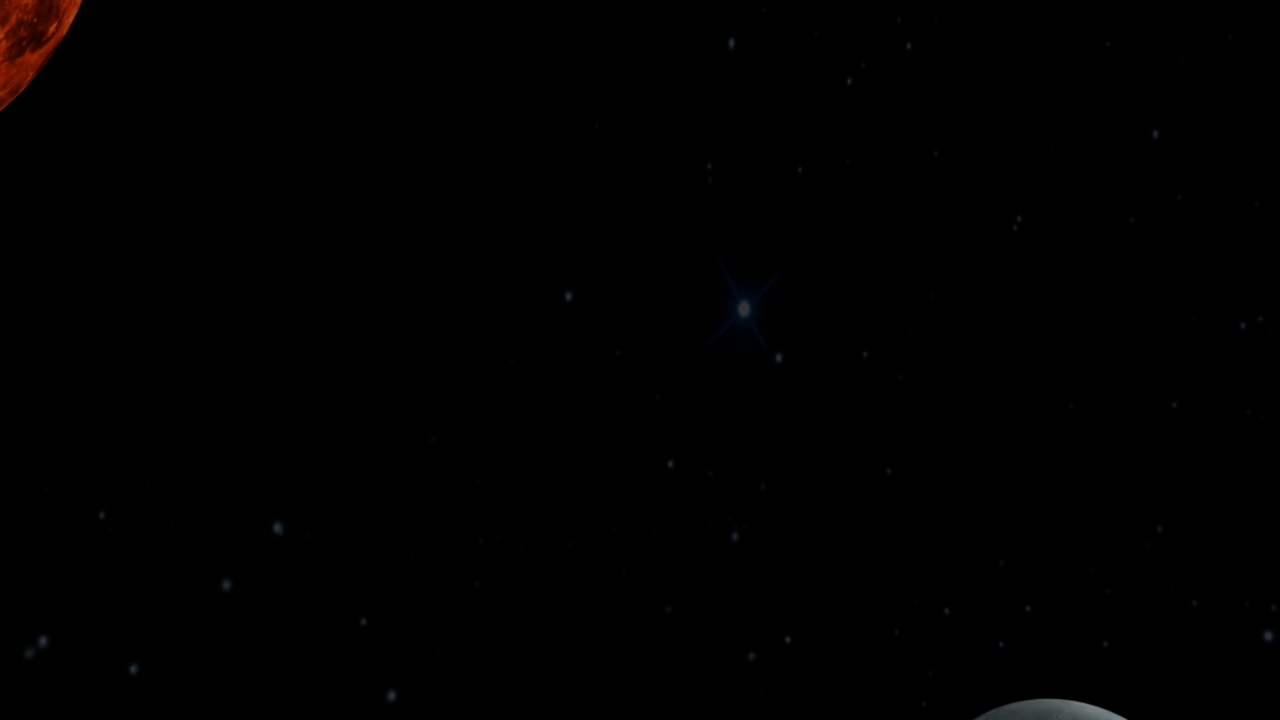


These are freeze frames from the opening scene of my animation, it starts off with a shot of a planet, and pans from the planet to the ships flying on screen, this is a reverse of the type of shots that they use in the star wars films, with the camera panning to a planet. The camera pan and subsequent tracking shot was done freehand by key framing the camera. And the ships movement were also done freehand by moving and key framing the ships.
Ship thrusters


I made the ships thrusters out of a cone and added a red colour and a glow to make them look bright, I made these in order to make the energy like effect that appears in the early star wars films, I made the glow quite intense as the rest of the scene is quite dark and it contrasted quite nicely in the renders.
Cameras
In the creation of my animation I will be using 2 types of cameras, the default camera, which simply shoots whats in the frame, it can be moved and rotated etc. and the camera and aim.

The camera and aim tool creates a camera with an aimer, which the camera will always be looking at, this allows me to attach the aim as a child of one of my ships to create a tracking shot, in which the camera will follow the aim, which is attached to my ship.

The camera and aim tool creates a camera with an aimer, which the camera will always be looking at, this allows me to attach the aim as a child of one of my ships to create a tracking shot, in which the camera will follow the aim, which is attached to my ship.
Motion Pathing Tie Interceptor

I set my Tie Interceptor along a motion path, this allowed me to create an animation for my Tie Interceptor without having to key each frame of its movement, there were some difficulties in using motion pathing however, for example, I wanted my Tie Interceptor to cross paths with the X and Y wing and to shoot at them, but as I had animated them first, getting the timing for the Tie Interceptor to cross their path at the right time was a challenge.
Layering

Layering was extremely useful when it came to creating my animation, it allowed me to separate my objects, making it so I cant touch my skydome unless I want to for example, and being able to make certain objects invisible during a render. This came in very handy when I wanted to render things in a different order than I had animated it, this meant I could make it so a ship on the screen wasn't there when I wanted to render, but I did not have to delete it or edit its flight path.
Populating my scene

I began populating my scene with planets after I began my animation, I did this because I only wanted the planets to be in a shot, instead of just sitting in the background where they may not be seen and increasing the render time unnecessarily. What I mean by this is after I had my camera set up and had finished it filming what I wanted it to I would add a planet after to fill the scene and make it look better, allowing me to only have planets that would definitely improve the look of my shot.
Sunday, 11 December 2016
Setting my scene

When it came to creating my scene, the very first thing I had to do was import my models as fbx files. This came with some slight difficulty as I had to redirect the file path of the textures that I had used when texturing my models. This also meant moving these textures into my animations source image file. Once I was finished with that I created my skydome, I did this in the simplest and fastest method I could, which simply involved inverting the textures on the sphere and raising the subdivisions, I felt that this may make problem with the lighting, so I created anew ambient light inside the skydome, so the dome could not affect the lighting and shadows on the ships. Once I had done that I had my scene ready to begin animating.
Render settings
When it came to the render settings of the animation, Gary provided us with minimum requirements, these were that the animation had to be in at least 720p and at medium quality, in order to make my render time as quick as possible I went with the minimum settings suggested by Gary, I also used mental ray to render my model, as it is much easier to use with particle effects.
Saturday, 10 December 2016
Texturing Tie Interceptor

The Tie Interceptor was the simplest of all my models to texture as it has very little colour to it, and is limited to a couple of shades of grey. To make the texture that appears in the indents in the wing I used a carbon fiber texture on a Lambert and applied it to the wing, even after mapping the UV's the texture looked too big to looked suitable for the wing, so I resized the texture until it was small enough to make the wings look good. The windows of the cockpit are a blinn with a black colour and a light transparency, same as the other two ships, I used the same colour but with a Lambert to add some details to the top of the ship. The main body of the ship is the same texture that I used on my X wing as it suited the Tie Interceptor just as well, this also saved me some time when it came to searching for and applying a new texture. In the end i feel like the Tie Interceptor came out well, and once again fits in with the style and design of my other two ships, so it does not look out of place.
Texturing X wing

When it came to texturing my X wing I followed the colour scheme of my reference image, I went with a dull smooth grey metal texture with a Lambert, because I didn't want the X wing to be reflecting light strongly. I added a black Lambert on the engines of the ship , as I would be making the engine lights in my animated scene, I used this same black texture on many parts of the ship that it would suit. The ships windows are all a black blinn material with a very slight transparency to make it look more realistic, but still not be transparent enough to see through. I added a blue Lambert to the trimmings of my X wing, this made it look more true to life and added some character to the ship. I textured the droid in the same way I textured it on the Y wing, using the texture colours history to get the exact same shades.

Overall the final textured model came out very nicely, it looked basic, but this was good because it fit with the Y wing and would not look strange when they were put next to each other in a scene.
Texturing Y wing

When it came to texturing my models I already had very little time to complete my animation when compared to the other students due to unavoidable absences, this meant that I had to both make my models look good, but also get them textured quickly, in the end I decided that I could go with a simple texture style, so I found a metal texture that suited the look of the Y wing an applied it to the body of my ship with a blinn material to give it a slight metallic shine, after this I mapped the UV's on my model to make the texture look better all around the model. After I applied the main body texture I applied a yellow Lambert on all of the places on the ship where a Y wing would have the colour , after that I applied a blinn with some transparency and a dark blue, almost black colour to the windows on my ship, to give a nice reflective look while still not being all the way see through. The additional details on the ship, such as the trimmings and the piping I found a different , darker metal texture for, as this would offset them slightly with the body of the ship and make them more noticeable. Finally I applied a simple light grey coloured blinn to the body of the droid on my ship, and added a light blue coloured blinn to certain parts of my droid in order to add some minor detailing to the droid, this is the same colour system as R2D2 from the films. The final look of my ship has come together quite nicely, it is a bare bones, but good looking Y wing model.
Subscribe to:
Comments (Atom)